Step 1
Add Gmail account via the app
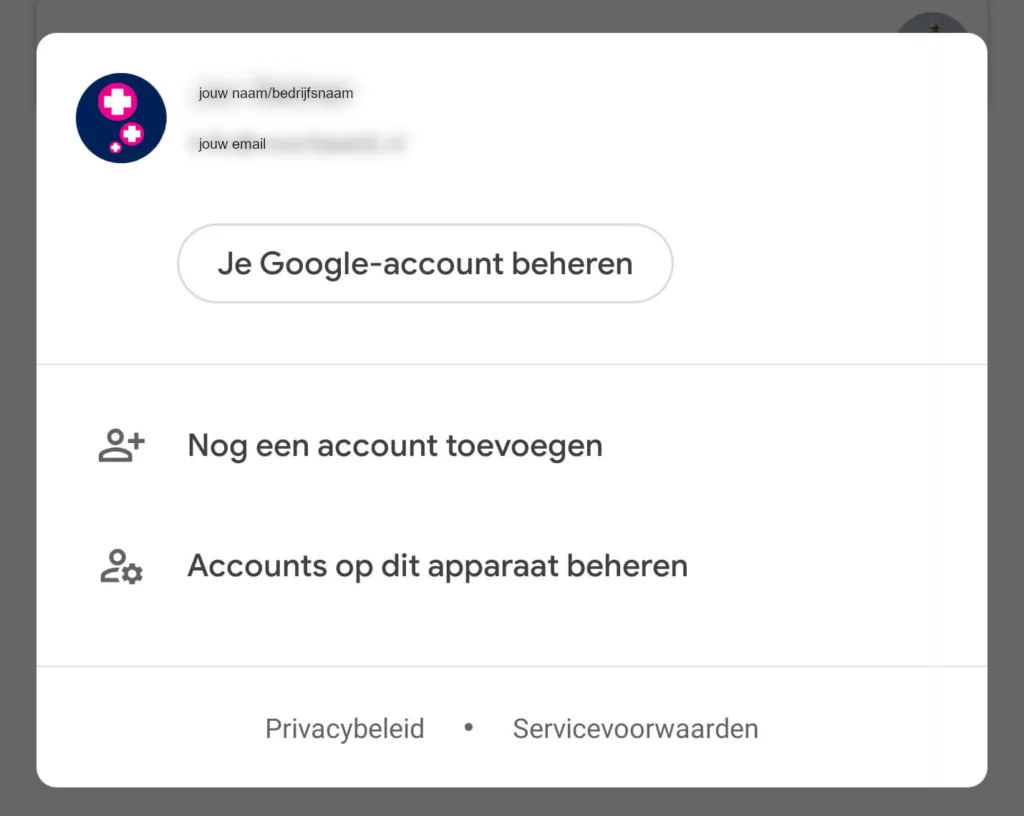
1. Open the Gmail app on your device.
2. Tap your profile picture or initial at the top right.
3. Select the 'Add another account' option.
Follow further on-screen instructions to set up your account.
Step 2 - Other
Step 2: Choose the 'Other' option
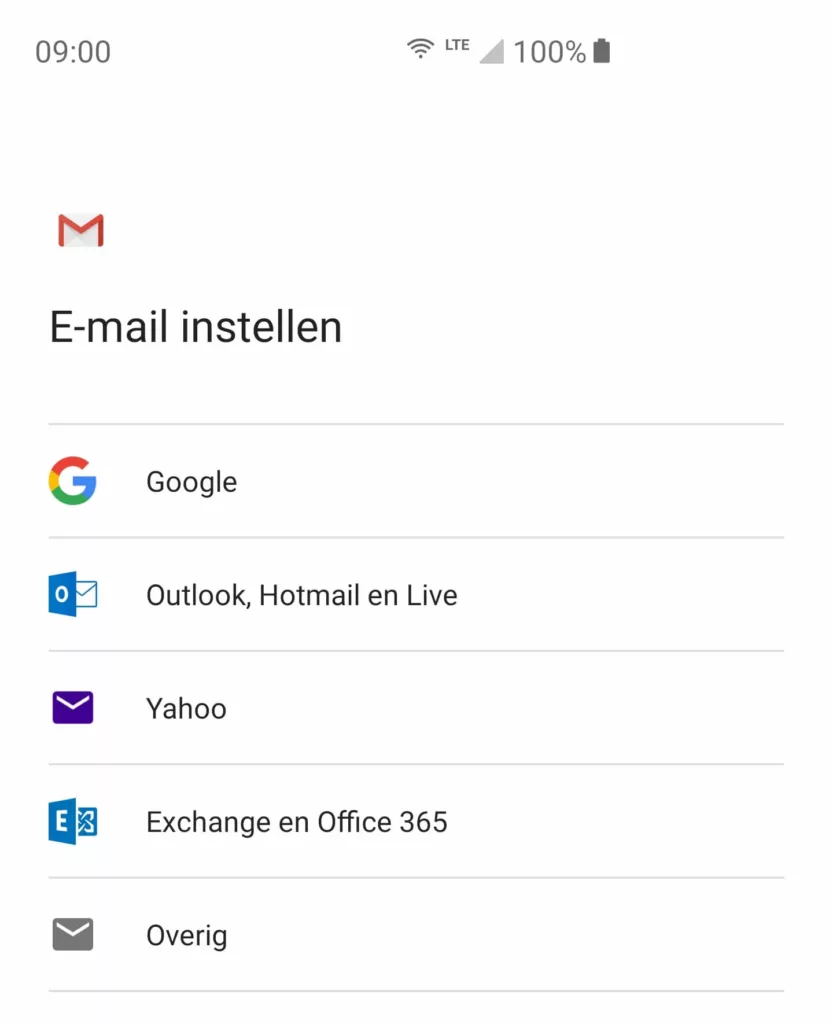
4. In the screen that appears, select 'Other' to add a non-standard email account.
Step 3 - Enter your e-mail address
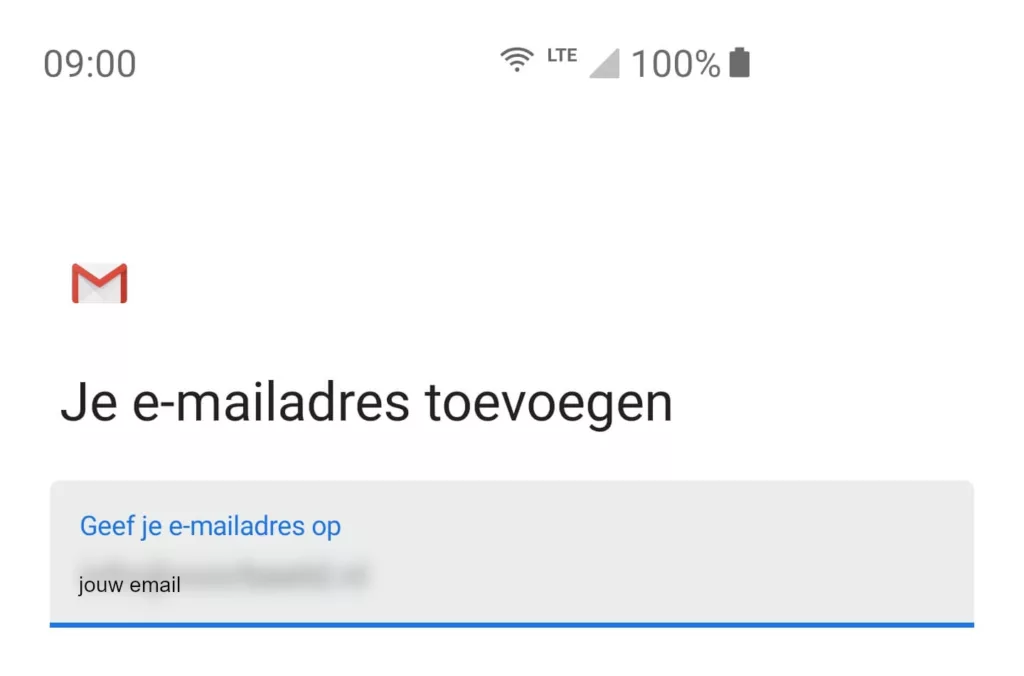
5. Enter the e-mail address you want to set up on your phone.
6. Tap 'Next' to continue.
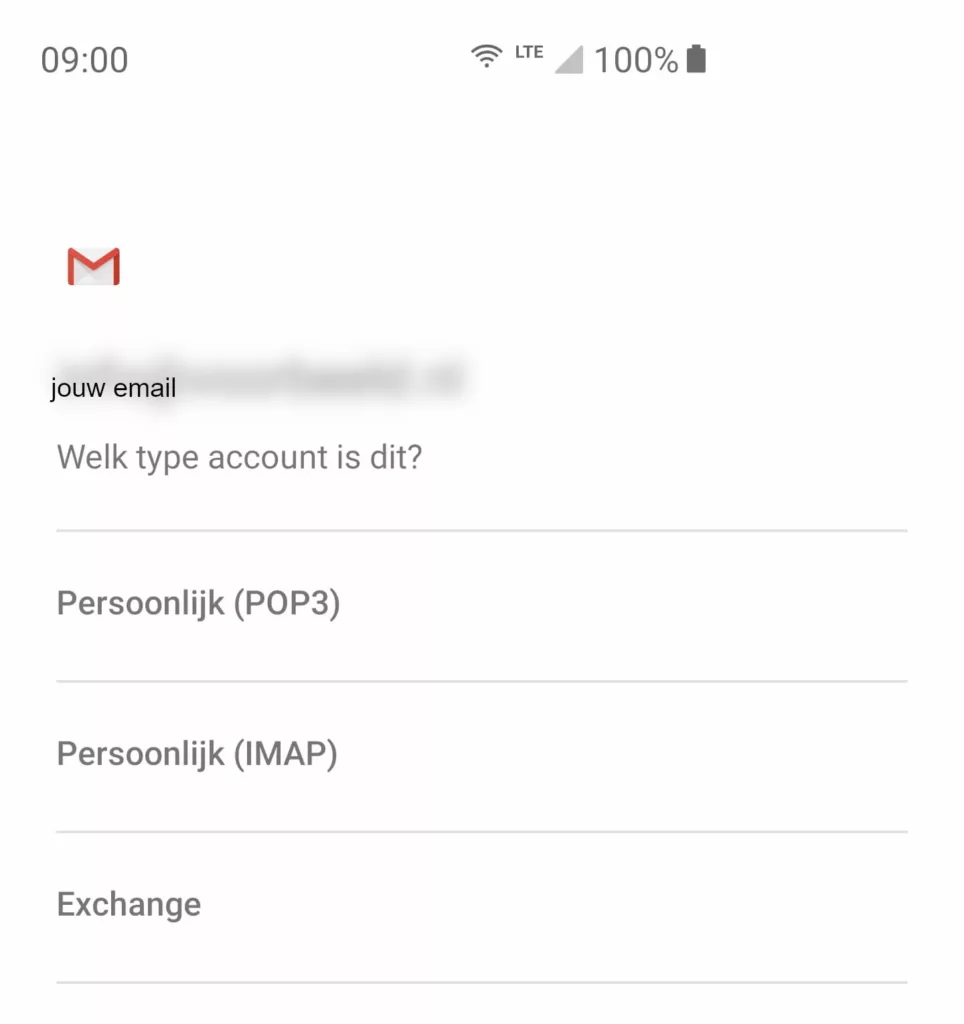
Step 4 - Select 'Personal (IMAP)
- Choose the option 'Personal (IMAP)' to add an IMAP account.
Step 5 - Enter your password
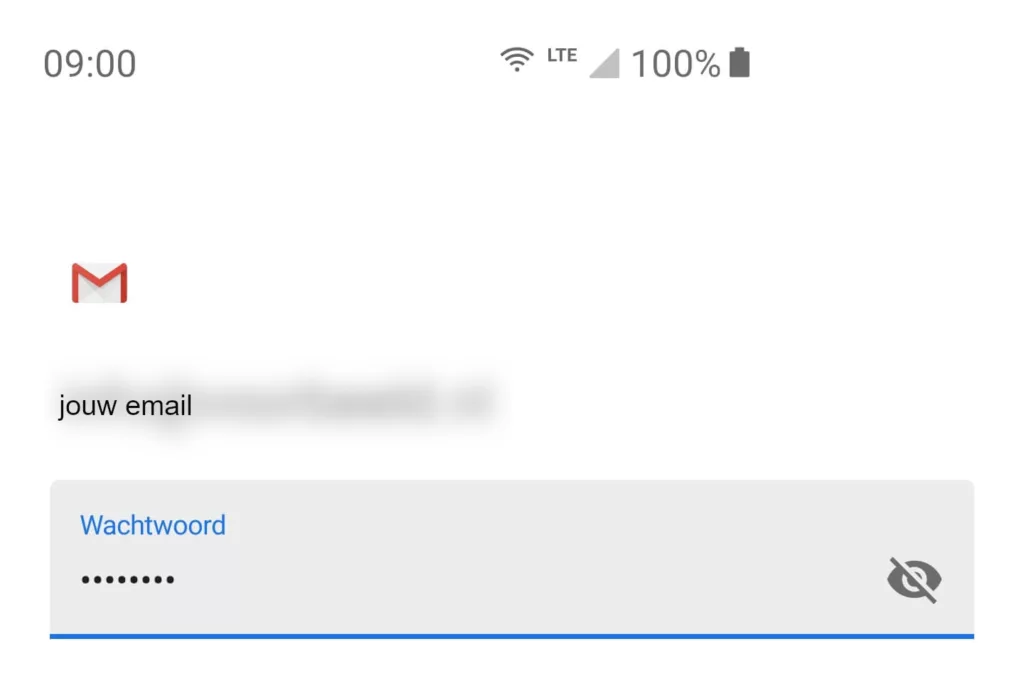
8. Enter the password you set for this email account when you created it in DirectAdmin.
9. Tap 'Next' to continue.
Step 6 - Entering incoming server settings
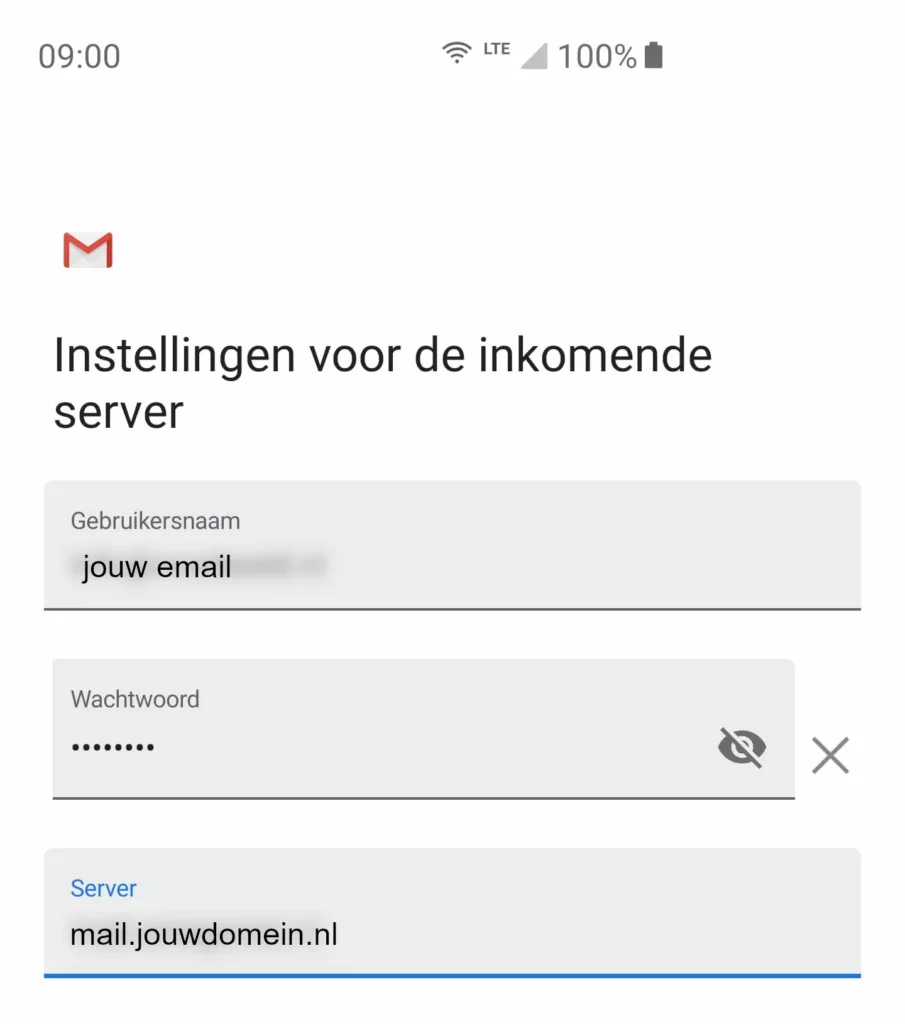
In the incoming server settings window, enter the following information:
10. Username: the e-mail address you want to set.
Password: the password of this e-mail address.
Server:mail.yourdomain.com(replace yourdomain.co.uk by your own domain name).11. Tap 'Next' to continue.
Step 7 - Entering outgoing mail server settings
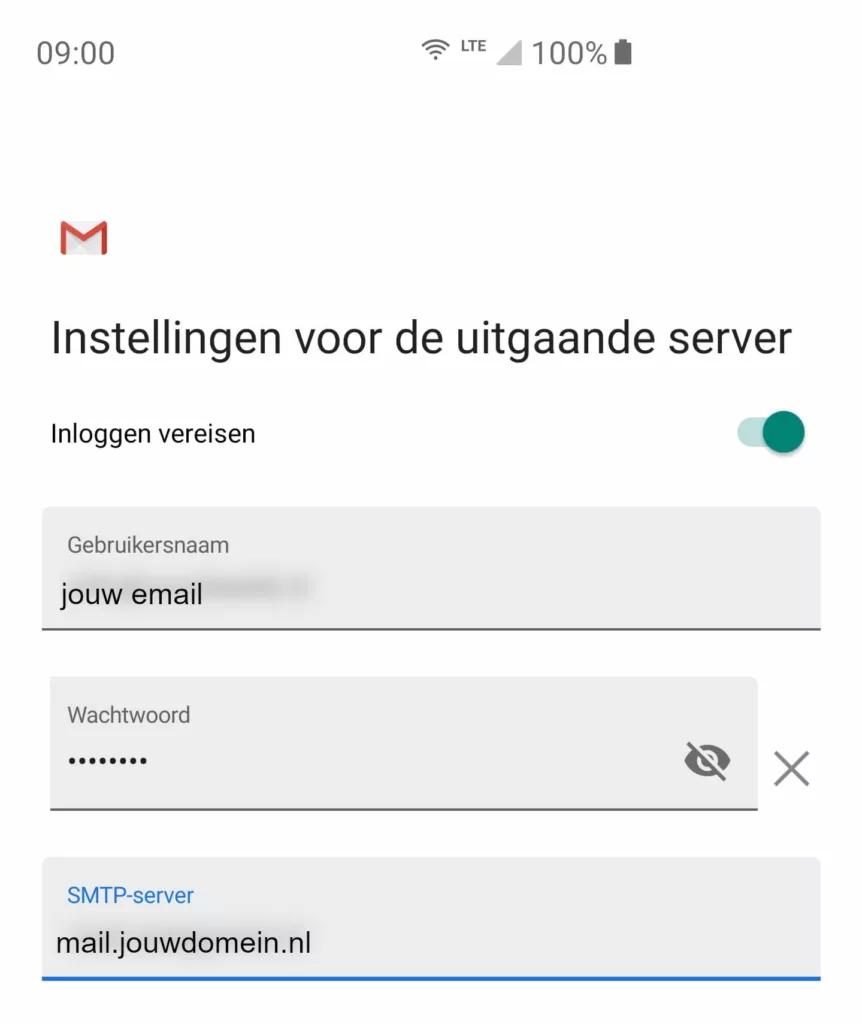
12. In the Outgoing server settings window, enter the following information:
- Login required: Make sure this is checked.
- Username: the e-mail address you want to set up.
- Password: the password of this e-mail address.
- Server: `mail.yourdomain.com`.
13. Tap 'Next' to continue.
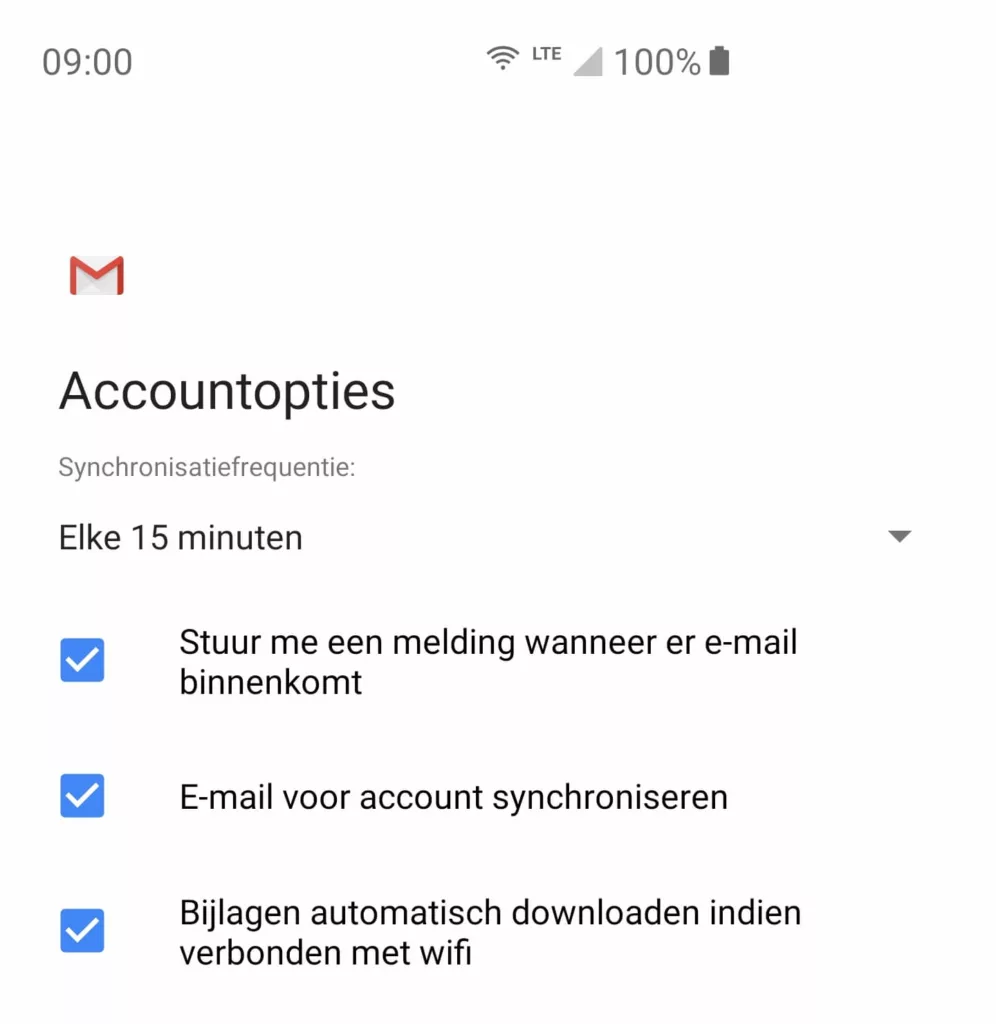
Step 8 - Additional settings for the e-mail address
14. You can now define some additional settings for the email address. Set these as required:
- Synchronisation frequency: Choose how often your e-mail should be synchronised.
- Notifications: Choose whether you want to receive notifications for this account.
- Email sync: Determine whether your e-mail should be synchronised from this account.
- Automatically download attachments: Set whether attachments of emails should be downloaded automatically when connected to Wi-Fi.
15. Tap 'Next' to continue.
Step 9 - Change account name and name
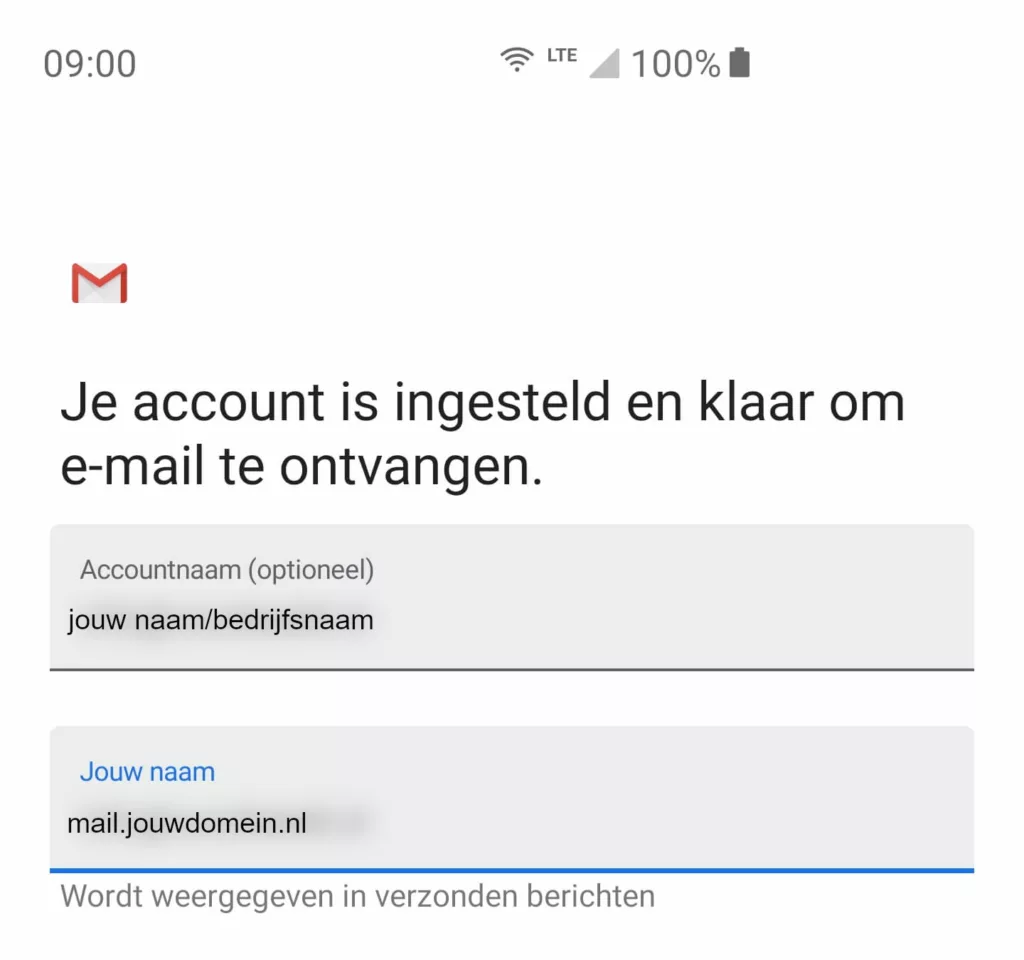
16. Where appropriate, change the account name (the name of the e-mail account) and the name displayed for outgoing e-mails.
17. Finally, tap 'Next' to complete the configuration.
